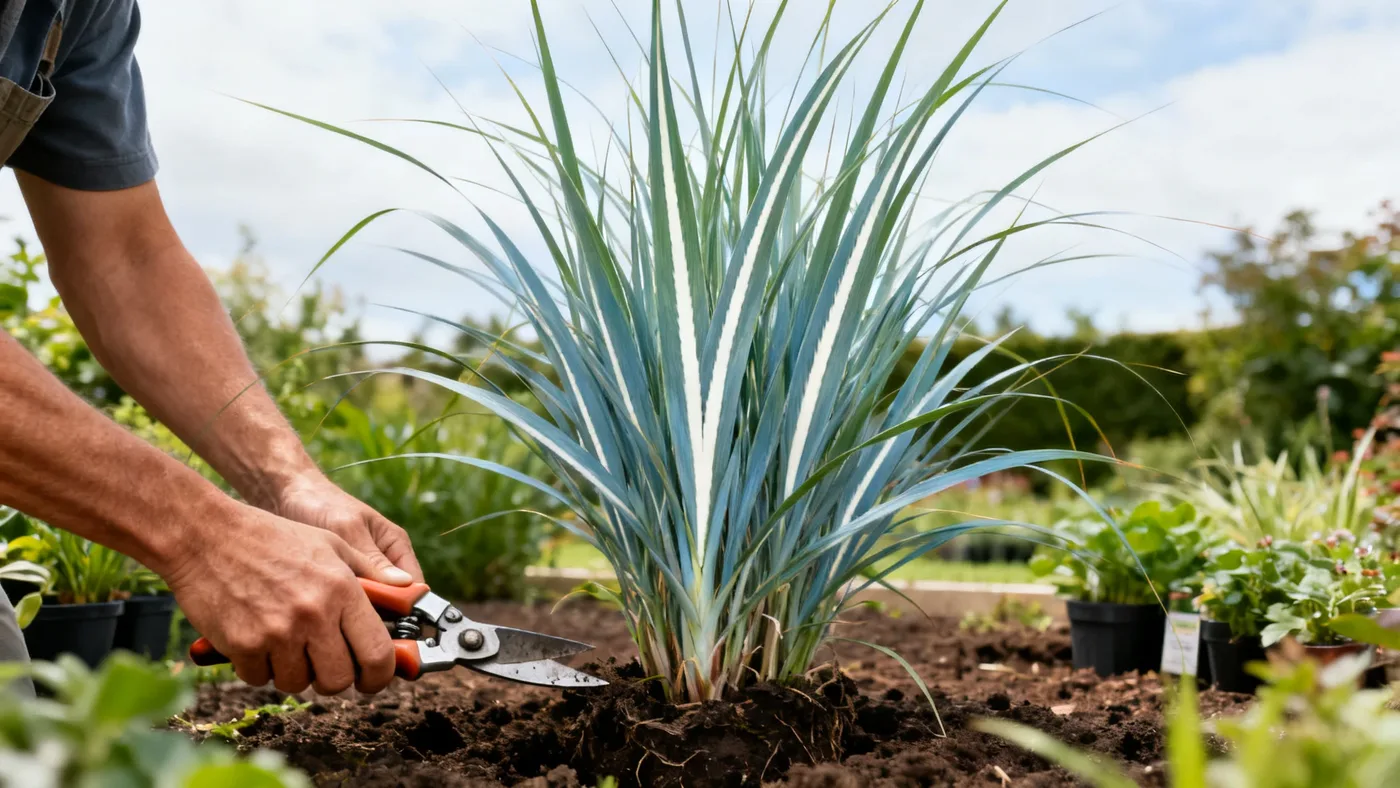
When and How to Cut Back Adagio Grass Each Year
Cutting back Adagio Grass is one of the simplest tasks in your growing calendar, yet the timing matters more than you might think. Done at the right moment with the right approach, it rejuvenates your clump and sets it up for a strong spring. Get the timing wrong, and you lose the beautiful winter structure that makes this ornamental grass so appealing from November through February.
This guide walks you through when to prune adagio grass, how to do it safely, and what to expect from the results.
Why Cut Back Adagio Grass at All?
Left unpruned, Adagio Grass becomes woody, loses vigor, and crowds out new growth. The dried foliage that looks beautiful in fall breaks down unevenly over winter, leaving a tangled, matted base by spring. Cutting the entire clump back encourages dense, healthy new shoots and prevents the plant from becoming increasingly floppy and weak as years pass.
You also get to enjoy months of ornamental winter interest before you cut. The tan and silvery plumes, along with the upright dried foliage, provide garden structure and shelter for birds through the coldest months. That's why the timing window is so specific: cut too early and you lose winter appeal, cut too late and you risk damaging tender new growth already emerging.
When to Cut Back Adagio Grass
The rule is simple but important: cut back in late winter or early spring, before new growth emerges. In USDA zones 5 to 9 (the range for Adagio), this typically means late February through March, though your exact timing depends on when your last hard freeze arrives and new shoots begin pushing up.
The key signal: cut as soon as you see the base of the plant beginning to green up with new growth, or wait until that process is visibly underway. In milder zones, that may be February. In colder zones, it may be April. If you're unsure, wait an extra week rather than cut too early. A quick check at the base of the clump tells you when to act.
Do not cut back in fall. This is the most common mistake. Even though the foliage is dead and the plant looks dormant, cutting in September or October removes the winter structure and exposes tender shoots to freezing temperatures. Always wait for late winter.
Materials and Tools You Will Need
- Sharp hedge shears or pruning saw (a reciprocating saw or power hedge trimmer speeds the job on large clumps)
- Work gloves (leather or thick cotton; dried grass is sharp)
- Safety glasses (optional, but recommended for power tools)
- Measuring tape or ruler
- Rake or hand rake (for cleanup)
- Heavy-duty yard bags or bin for cleanup
For clumps larger than 3 feet wide, a power hedge trimmer or reciprocating saw saves significant effort. Hand shears work fine for younger plants or those still filling in.
Step-by-Step Cutting Instructions
Step 1: Assess the Clump Size and Clear the Area
Look at your Adagio Grass from all sides. Mature plants reach 3 to 4 feet tall, with a foliage mound roughly 2.5 to 3 feet wide. Mark a mental circle around the base, about 3 to 4 feet in diameter. Remove any fallen leaves, mulch, or debris from around the plant so you have clear access and can see the base. This also makes cleanup easier.
Step 2: Measure Your Cutting Height
Cut the entire clump back to 4 to 6 inches above ground level. Use your measuring tape or ruler to mark this height on the stem in one or two spots. This is your target. Cutting lower than 4 inches risks damaging the base; cutting higher than 6 inches leaves dead material that will look messy through early spring and delay new growth.
Step 3: Begin Cutting from the Outer Edge
Start at one side of the clump and work methodically around the perimeter, moving inward. Make cuts as horizontal as possible at your marked height. If using hand shears, work in sections, stripping cut stems downward and away from your body. The dried grass is fibrous and tough, so firm, deliberate cuts work better than tentative sawing motions.
Step 4: Continue to the Center
Work from the outside in, gradually tightening your circle. For dense clumps, you may need to make multiple passes or work in layers if the height is particularly tall. Keep your cuts level. Once you've cut around the perimeter, tackle any stems still standing in the center. Move slowly enough to make sure you're consistently hitting your 4 to 6 inch target.
Step 5: Inspect the Cut Surface and Remove Loose Debris
Once you've cut the clump, step back and look for any stems taller than your target height. Snip these stragglers. Use a rake to pull up the loose, cut stems from the center and base of the clump. You want a relatively clean, uniform stubble showing. Don't worry about removing every tiny piece of fluff, but rake out the bulk of loose material so new growth can push through unobstructed.
Step 6: Haul Away Clippings
Dried Adagio Grass stems are large and light, taking up a lot of space in bags. Consider chipping them if you have access to a chipper, or haul them to a yard-waste site. Some gardeners stack the cut stems loosely in a corner of the property for birds to use as shelter, then remove them once new growth is well underway.
Tips for Success and Common Mistakes to Avoid
| Mistake | Why It Happens | How to Avoid It |
|---|---|---|
| Cutting too early (fall) | Temptation to clean up the garden; not knowing winter interest matters | Mark your calendar for late February minimum; enjoy the dried foliage through winter |
| Cutting too short (below 4 inches) | Wanting to be thorough or miscalculating height | Measure before you start; use a stake or mark on your tool as a guide |
| Cutting too tall (above 6 inches) | Hesitation to cut low, or fearing damage | Remember: you're cutting dead material; the plant regenerates from the base |
| Leaving loose stems in the center | Rushing the cleanup step | Rake thoroughly so new shoots can emerge cleanly through bare soil or mulch |
| Cutting during active new growth | Waiting too long into spring | Watch the base in late winter; cut as soon as you see green shoots starting |
What to Expect After Cutting
Immediately after cutting, your plant will look dramatic: a short, stubble-like base where a 4-foot plant stood days before. Don't panic. This is normal and exactly what you want.
Within 2 to 3 weeks, you should see small green shoots emerging from the base. Growth will accelerate as soil warms and day length increases. By late spring, the clump begins to fill back in. By early summer, you'll have a full, dense mound again. The plant's growth rate typically ranges from 6 to 12 inches of new growth per year until the clump reaches mature size, so expect to see noticeable progress each month from April onward.
The renewed foliage will be brighter, finer-textured, and more densely packed than the previous year. Flowering occurs in late summer to fall (typically August through October, depending on your zone), and you'll have fresh plumes with that characteristic coppery-pink to silvery-pink color, aging to silvery-white through winter.
Maintenance After Cutting
No special care is needed beyond normal spring watering. If you fertilize, apply a light balanced slow-release fertilizer or a compost topdressing in early spring as new growth emerges. Avoid over-fertilizing, which causes the grass to flop over later in the season. Light feeding is all this plant needs.
Water regularly in the first few weeks if spring is dry, but once active growth is underway, Adagio handles average water well and shows moderate drought tolerance once established. Mulch around the base if you prefer, but keep it a few inches away from the plant itself to prevent rot.
For more complete growing care throughout the year, see our complete Adagio Grass care guide.
Frequency and Timing for Ongoing Years
Plan to cut back your Adagio Grass every year. This is not a one-time task. Annual cutting keeps the clump vigorous, prevents it from becoming woody or floppy, and maintains the tight, attractive shape. Skipping a year leads to slower recovery and a less dense plant.
Divide mature clumps every 3 to 4 years in early spring, just after cutting. Division rejuvenates older plants and gives you extra stock to expand your planting. Since Adagio is a cultivar, it's not reliably true from seed, so division is the standard propagation method.
Quick Reference: Cutting Back Checklist
| Task | Timing | Key Detail |
|---|---|---|
| Check for new growth at plant base | Late February onward (zones 5-9) | Cut as soon as green shoots appear |
| Gather tools and gloves | Before cutting | Sharp shears or power tool; work gloves essential |
| Measure and mark target height | Before cutting | 4 to 6 inches above ground level |
| Cut clump from outside edge inward | Late winter/early spring | Level, deliberate cuts; work methodically |
| Rake and remove loose stems | Immediately after cutting | Clear the center and base for new growth |
| Haul clippings to yard waste or chipper | Same day or next day | Dried grass takes up space; plan haul-away ahead |
| Light watering if spring is dry | First 2 to 3 weeks after cutting | Once growth is active, normal watering resumes |
| Watch for new growth and flowering | April through October | Expect 6 to 12 inches per year; plumes in late summer |