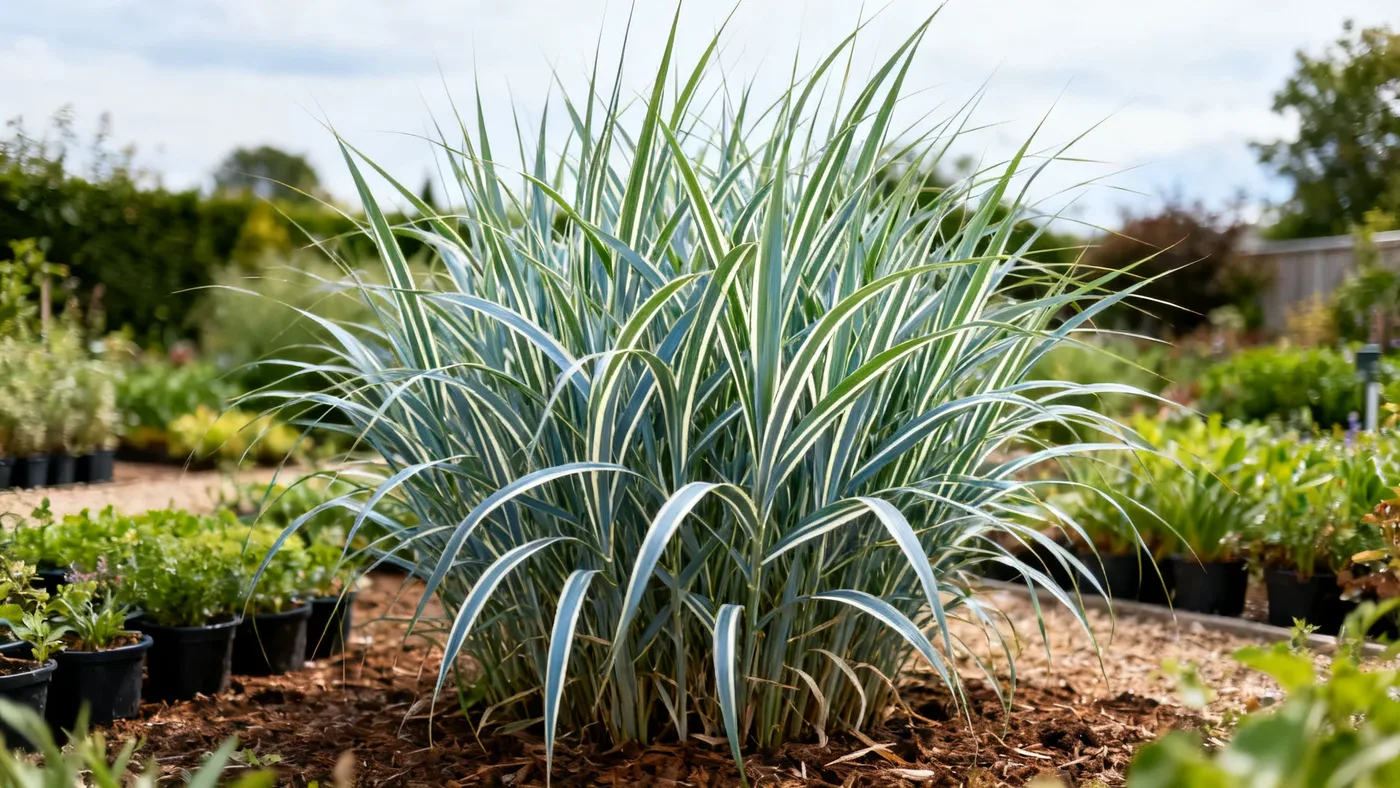
How to Divide and Propagate Adagio Grass Successfully
Dividing Adagio Grass is one of the simplest and most reliable ways to expand your planting or rejuvenate an aging clump. Unlike many ornamental grasses that can spread aggressively, Adagio Grass stays compact and clump-forming, making it ideal for home gardeners who want to propagate their own plants. This guide walks you through the division process step by step, from knowing when to divide to getting your new plants established.
Why Divide Adagio Grass?
Adagio Grass clumps remain vigorous for many years, but division every 3 to 4 years keeps them dense and productive. Older clumps can develop dead centers or lose vigor as the outermost growth tips crowd each other. Division refreshes the clump, gives you multiple new plants, and costs nothing but your time. Spring division also works well in zones 5 to 9, giving new segments the full growing season to establish strong roots before winter.
Best Time to Divide Adagio Grass
Early spring is the ideal window for dividing Adagio Grass. Wait until after you've cut back the previous year's growth (around late winter to early spring) but before vigorous new shoots emerge. In zones 5 to 9, this typically falls in late March through April, though your local frost date should guide the final timing. If you're in a milder zone (8 or 9), early fall is also workable, but spring remains the preferred choice because the new divisions have the entire warm season to develop roots.
Never divide in autumn in cooler zones. The newly divided plants won't have enough time to root in before winter stress arrives.
Materials and Tools You'll Need
- Sharp spade or garden fork with a sturdy blade (a dull blade will shred the roots)
- Pruning saw or handsaw for tougher centers (optional but helpful for dense, mature clumps)
- Hose or watering can
- Well-draining soil or planting mix
- Mulch (compost or bark)
- Gloves (ornamental grass blades can be sharp)
- Knife to separate tangled roots, if needed
Step-by-Step Division Process
Step 1: Water the Clump Thoroughly
Water the Adagio Grass clump heavily a day or two before division. Moist soil holds together better and protects the roots during the split. It also makes the foliage less brittle and easier to handle without breaking stems.
Step 2: Cut Back the Foliage
If you haven't already, cut the entire clump back to 4 to 6 inches above the soil line. This exposes the crown and root base, making it far easier to see where to make your cuts. It also reduces the stress on the plant by removing the transpiring leaf surface. Bundle the dried foliage for composting or use it for bedding material if you prefer.
Step 3: Dig Around and Lift the Clump
Use a sharp spade to cut vertically around the perimeter of the clump, about 6 to 8 inches out from the base. Work your way around in a circle, then slide the spade under the clump and pry it gently up. You want to lift the entire root ball without tearing the roots. For a mature clump that's 2.5 to 3.5 feet wide, expect to need a sturdy push.
Step 4: Shake Off Excess Soil
Once the clump is free, shake it gently to loosen and remove excess soil. This lets you see the crown and root structure more clearly. If the soil is very compacted, you can rinse it away with a gentle stream of water, but avoid this if you're about to replant immediately, since wet soil can rot newly exposed roots.
Step 5: Divide the Clump
Inspect the crown. Healthy Adagio Grass clumps break naturally into sections. Using a sharp spade or pruning saw, cut the clump into 2 to 4 pieces, depending on size. Aim for each division to have at least 3 to 5 growing points (shoots) and a good portion of the root system. Don't make pieces too small; they'll take longer to mature and may struggle to establish.
If the center is very dense or woody, a pruning saw cuts faster than a spade. Make clean, confident cuts rather than sawing back and forth, which can damage tissue.
Step 6: Trim Damaged Roots
Remove any blackened, mushy, or obviously dead roots with a clean knife. Healthy roots are white to tan and firm. Trimming ragged root tips encourages new feeder roots to develop.
Planting the Divisions
Plant divisions immediately after dividing to prevent root drying. Space them 24 to 36 inches apart, depending on how quickly you want them to fill in. Closer spacing (24 inches) creates a denser look in 2 to 3 years; wider spacing (36 inches) allows more air flow and accommodates future growth.
Dig a planting hole slightly larger than the root ball. The top of the crown should sit at or just above soil level; burying the crown invites rot. Backfill with well-draining soil, press gently but firmly, and water thoroughly. Add a light mulch layer (1 to 2 inches) around the base, keeping it a few inches away from the crown itself.
For a complete overview of Adagio Grass care through its full lifecycle, see our Adagio Grass Care: The Complete Growing Guide.
Aftercare and First-Year Management
Water new divisions consistently for the first 4 to 6 weeks, especially if rain is sparse. Once established (usually by mid-summer), Adagio Grass is moderately drought tolerant, but regular water during hot spells still supports stronger growth.
Most divisions reach a noticeable size by the end of their first growing season, with 6 to 12 inches of new growth typical. Full maturity and reliable flowering usually occur in the second or third growing season. Avoid fertilizing in the first year; light feeder that Adagio Grass is, rich soil can cause soft, floppy growth. A balanced slow-release fertilizer applied lightly in spring of the second year is sufficient.
Common Mistakes to Avoid
- Dividing too small: Divisions with only one or two shoots take longer to mature and are more prone to stress. Aim for at least 3 to 5 shoots per division.
- Planting too deep: Buried crowns rot. Keep the crown at soil level or slightly proud of it.
- Dividing in fall (cool zones): New divisions won't root in time before winter. Stick to spring division in zones 5 to 7.
- Skipping the water immediately after planting: Newly divided plants need consistent moisture to settle in. Don't let them dry out in their first month.
- Over-fertilizing: Too much nitrogen causes floppy growth and weakens the plants. Adagio Grass prefers lean conditions.
What to Expect in the Weeks and Months Ahead
New divisions may appear to slow or stall in their first few weeks as they focus energy on root establishment. This is normal. Once warmer weather arrives and daylength increases, you'll see rapid foliage growth. By summer, new shoots should begin filling out, and by late summer or early fall, flower plumes may appear on vigorous divisions, though they're often lighter and smaller than plumes on mature clumps.
Plan to let divisions settle for a full year before dividing them again. After 3 to 4 years of growth in their permanent location, these newer plants become mature enough to re-divide if you want to propagate further.
Quick Reference: Division and Planting Checklist
| Task | Timing / Details |
|---|---|
| Best time to divide | Early spring (late March–April in zones 5–7; late Feb–March in zones 8–9) |
| Water before dividing | 1–2 days before; moist soil protects roots |
| Cut back height | 4–6 inches above ground |
| Clump size at division | 2.5–3.5 feet wide; produces 2–4 viable divisions |
| Division size | Each piece should have 3–5 growing points and healthy roots |
| Spacing after planting | 24–36 inches apart |
| Planting depth | Crown at or just above soil level; never bury |
| Initial watering | Heavy water immediately after planting; keep moist for 4–6 weeks |
| Expected first-year growth | 6–12 inches of new foliage; plumes possible but often light |
| Full maturity | 2nd–3rd growing season |
| Re-division interval | Every 3–4 years to maintain vigor |
| Fertilizing | Light application in spring of year 2+; avoid heavy feeding |