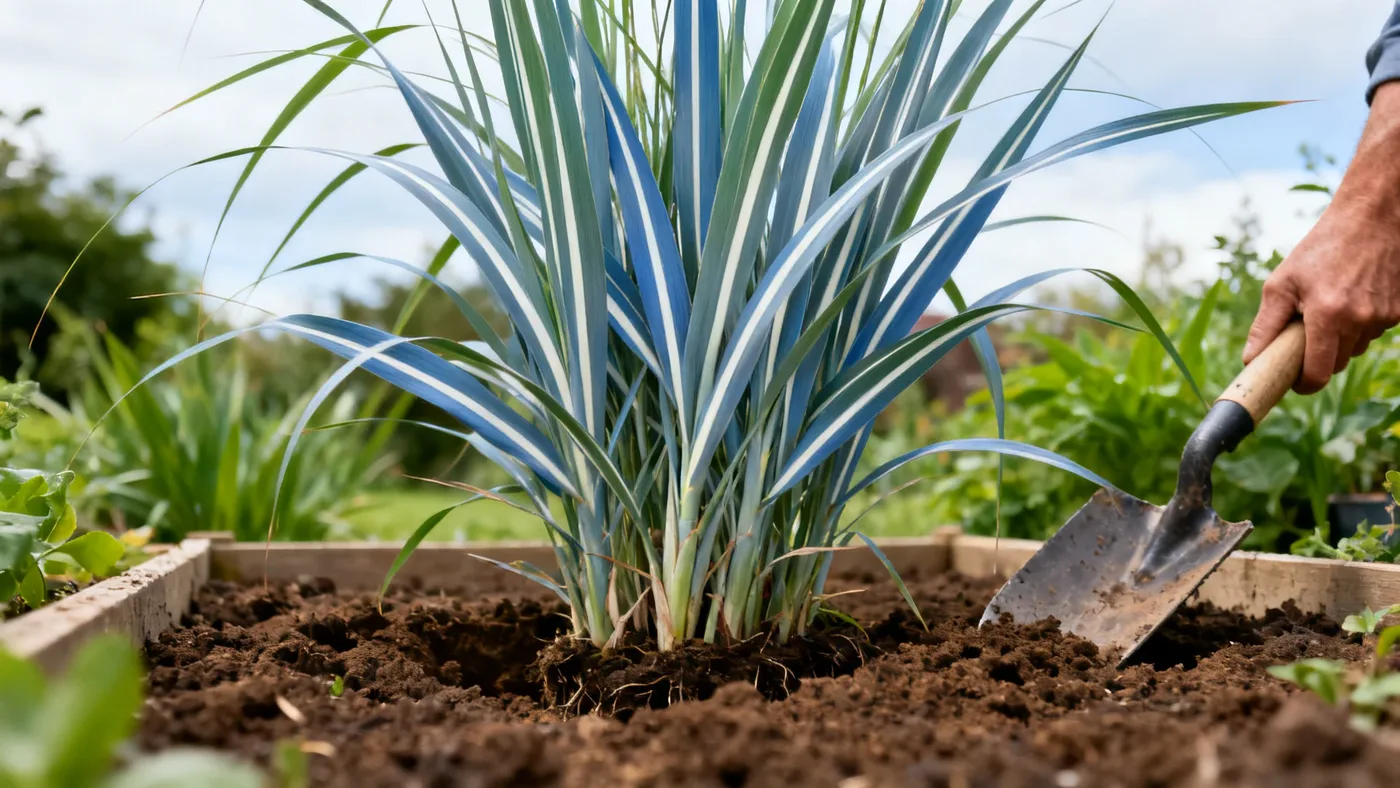
Adagio Grass Spacing for Borders, Hedges and Mass Planting
The spacing distance between Adagio Grass plants shapes everything: how quickly your planting fills in, what it costs, and whether individual plants stay distinct or merge into one unified mass. Whether you're designing a graceful border, creating a living screen, or filling a large area with color and movement, getting spacing right determines the difference between a lush, unified look and a scattered, sparse planting for the first 2 to 3 growing seasons.
This guide walks through spacing recommendations based on how you plan to use Adagio Grass (Miscanthus sinensis 'Adagio'), plus step-by-step planting instructions and troubleshooting tips for each approach.
Understanding Adagio Grass Mature Size
Before choosing a spacing distance, you need to know how large a single mature plant becomes. Adagio Grass grows as a compact, upright clump that reaches full size in 2 to 3 years.
At maturity, a single plant spreads 2.5 to 3.5 feet wide. The foliage mound itself stands 2.5 to 3 feet tall, while the coppery-pink plumes extend the total height to 3.5 to 4.5 feet by late summer and fall. This is a moderate-size ornamental grass, substantial enough to create significant visual impact when spaced correctly, but compact enough to work in borders and mixed plantings.
The growth rate is moderate: expect 6 to 12 inches of new foliage per year in the early seasons, with the clump gradually expanding until it reaches full mature size by year 3. This timeline is important when planning your planting density.
Spacing Distance: The Core Rule
The standard spacing for Adagio Grass is 24 to 36 inches apart, measured center-to-center (from the center of one plant to the center of the next). This range gives you flexibility based on your goals and budget.
Spacing at 24 inches creates faster fill-in and denser coverage by year 2, but requires more plants and higher cost. Spacing at 36 inches uses fewer plants and reduces cost, but the planting will look sparse in year 1 and doesn't reach full visual density until year 3. Most home gardeners find the sweet spot at 28 to 30 inches: a balance between patience and budget.
Spacing for Borders
A border planting emphasizes individual plants while maintaining a unified line of color and texture. Borders frame other plantings, line pathways, or define garden edges. For borders, use the closer end of the spacing range: 24 to 30 inches apart.
Why this works: at 24 to 30 inches, each plant has room to develop without crowding, but the mature clumps will touch or slightly overlap. You'll achieve a continuous presence by year 2 rather than isolated specimens standing alone. From a viewing distance of 10 to 15 feet, the planting reads as 'one border' not 'several separate plants.'
Example: a 20-foot border planted at 27-inch spacing needs 9 plants. The same border at 30-inch spacing needs 8 plants. By year 2, the mature plants will form a nearly continuous line.
Spacing for Hedges or Screening
If you want to create a semi-opaque screen for privacy or visual division, plant more densely than a border. Use 24 inches apart, or consider spacing as tight as 18 to 20 inches if budget allows.
Tight spacing fills in faster and creates a fuller visual effect. By year 2, you'll have a unified screen that blocks views effectively. The dried foliage persists through winter, maintaining screening value even after the leaves have turned tan and the plumes have aged to silvery-white.
Important: Adagio Grass is not a formal, clipped hedge. It grows upright and retains a natural, airy form. If you need a rigid, pruned hedge, this is not the right plant. But for a graceful, semi-transparent screen with seasonal interest and movement in the wind, dense Adagio spacing works beautifully.
Spacing for Mass Planting
Large-scale plantings (100 or more square feet) often use wider spacing to reduce plant count and total cost. Use the full 36-inch spacing, or plant at 3-foot intervals in a staggered grid pattern.
A mass planting at 36 inches will look noticeably sparse in year 1. By year 2, clumps have matured to 2.5 to 3.5 feet wide and begin to touch or slightly overlap. By year 3, the planting reads as a unified design despite any small gaps that might remain.
Cost comparison: a 500-square-foot mass planting needs about 12 to 15 plants at 36-inch spacing, versus 20 to 25 plants at 24-inch spacing. That's a significant savings. The trade-off is patience: you must accept a sparse first year to achieve lower cost.
Materials You'll Need
- Adagio Grass plants in quart or #1 containers (standard nursery sizes)
- Measuring tape or ruler
- Soil amendment such as compost or peat (if your soil is clay-heavy)
- Spade or shovel
- Water source (hose or watering can)
- Mulch: 2 to 3 inches of bark chips or wood mulch (optional but recommended)
Step-by-Step Planting Instructions
Step 1. Choose the Right Season and Site
Plant Adagio Grass in spring (the preferred season) or early fall in USDA zones 8 to 9. Spring gives the plant the full growing season to establish roots before winter dormancy. Fall planting in zones 5 to 7 risks winter damage to young plants.
Site selection matters. Full sun produces the most compact habit, the most reliable flowering, and the most vibrant plume color. Adagio Grass tolerates light shade or partial shade but will flower less reliably and may grow taller and looser in habit. Choose a site with full sun when possible.
Soil should be well-drained. Adagio Grass adapts to most soils, including clay, but performs best where water doesn't pool. If your planting area has clay soil that stays wet after rain, amend it or choose a different site.
Step 2. Mark Your Spacing Points
Using your measuring tape, mark the center of each planting hole before digging. For a border, mark points in a straight line spaced 24 to 30 inches apart. For a hedge, use the same spacing but offset alternate rows by half the spacing distance (so if spacing is 24 inches, offset the second row 12 inches). This staggered pattern creates a more natural, unified effect. For a mass planting, use a grid pattern at 36 inches on center, or use the staggered offset at your chosen distance.
Step 3. Prepare Each Planting Hole
Dig a hole as deep as the rootball and twice as wide. A typical quart-size plant has a rootball about 6 inches deep and 5 inches wide, so your hole should be roughly 6 inches deep and 10 inches wide.
If your soil is clay-heavy and drains slowly, amend the backfill with compost or peat moss (up to 30 percent by volume) to improve drainage. If your soil is already sandy or loose and drains quickly, do not amend. Well-drained soil is critical; poor drainage leads to root rot.
Step 4. Set the Plant
Remove the plant from its container. Gently loosen the roots by hand or with a tool to encourage outward growth. Set the plant in the hole at the same depth it was growing in the container. The crown (where the shoots emerge from the soil) should sit right at or slightly above grade level. Do not bury the crown or plant too deep.
Backfill the hole with amended soil (if applicable) and firm it gently with your hands. Avoid packing the soil hard; you want good contact between roots and soil, not compacted clay.
Step 5. Water Thoroughly
Water each plant immediately after planting to settle the soil and eliminate air pockets. Soak the area for 30 seconds to 1 minute, depending on soil type. Sandy soil drains fast and may need less water initially; clay holds water longer. The goal is moist (not waterlogged) soil that makes good contact with the roots.
Step 6. Apply Mulch (Optional)
Apply 2 to 3 inches of mulch (bark chips, wood chips, or similar) around each plant, keeping it 4 to 6 inches away from the crown to prevent rot and pest damage. Mulch reduces weed growth and retains soil moisture during the first growing season, when consistent moisture is most important.
Step 7. Establish a Watering Schedule
Water every 2 to 3 days for the first 4 weeks if rainfall is less than 1 inch per week. Adagio Grass is moderately drought-tolerant once established, but young plants need consistent moisture to develop deep roots. After 4 weeks, transition to weekly watering unless the weather is hot and dry. By the end of the first growing season, reduce watering further as the plant becomes established.
Tips and Common Mistakes
Mistake 1: Planting Too Close
Cramping plants closer than 18 inches often leads to poor air circulation, reduced vigor, and occasional fungal issues. Stick to the documented 24 to 36 inch spacing range. Closer than that and you're fighting your plant's natural growth habit.
Mistake 2: Planting in Shade
Adagio Grass in partial shade will grow and leaf out, but flowering is reduced and the clump becomes loose and open in habit. Full sun produces the most compact, attractive plants and the most reliable plume production in late summer and fall.
Mistake 3: Expecting Instant Density
A sparse-looking planting in spring will transform dramatically by midsummer of year 2 and be nearly complete by year 3. Patience is part of the design. If you cannot wait for this timeline, use closer spacing (24 inches) and accept the higher upfront cost.
Mistake 4: Overwatering Established Plants
Once past the first growing season, water only during droughts lasting more than 2 weeks. Overwatering can encourage root rot, especially in poorly drained soil. Adagio Grass is moderately drought-tolerant by design.
Tip 1: Stagger Multiple Rows
If planting multiple rows, offset every other row by half the spacing distance. This creates a more natural, integrated look than a rigid grid and helps each plant access light and air.
Tip 2: Cut Back in Early Spring
Each spring before new growth emerges, cut the entire clump back to 4 to 6 inches above ground. Do not cut in fall; the dried foliage provides winter structure and shelter for overwintering insects. New shoots emerge rapidly in late spring (April to May, depending on zone).
Tip 3: Check Local Invasive Plant Lists Before Planting
The Miscanthus sinensis species is classified invasive in parts of the eastern and midwestern US due to reseeding. Adagio is a compact cultivar with reduced seed viability compared to the wild species. However, invasive status and regulations vary by state. Check with your local extension service or state invasive plant list before planting, particularly if you live in the eastern or midwestern US.
Expected Results
In year 1, plants establish roots and produce 6 to 12 inches of new foliage growth. Plumes may appear late in the season (typically August to October, depending on region and how early the plant was installed), but expect modest flowering in the first year.
By year 2, plants reach closer to full mature size (2.5 to 3.5 feet wide) and flowering improves noticeably. Plumes emerge earlier and more reliably in late summer. If spacing was on the tighter side (24 inches), clumps will touch or slightly overlap, creating a unified visual line.
By year 3 and beyond, plants are at full maturity. Spacing effect is fully apparent, and the planting reads as a cohesive design element. Division every 3 to 4 years helps maintain vigor and rejuvenate older clumps.
Quick Reference: Spacing at a Glance
| Use | Spacing (Center-to-Center) | Approx. Plants per 100 sq ft | When It Looks Full | Budget Level |
|---|---|---|---|---|
| Formal border | 24-30 in | 16-20 | Year 2 | Medium |
| Informal border | 30-36 in | 10-16 | Year 2-3 | Lower |
| Hedge or screen | 18-24 in | 20-25 | Year 2 | Higher |
| Mass planting | 30-36 in | 10-16 | Year 3 | Lower |
For detailed information on year-round care, pruning, seasonal maintenance, and troubleshooting, see the complete Adagio Grass care guide.