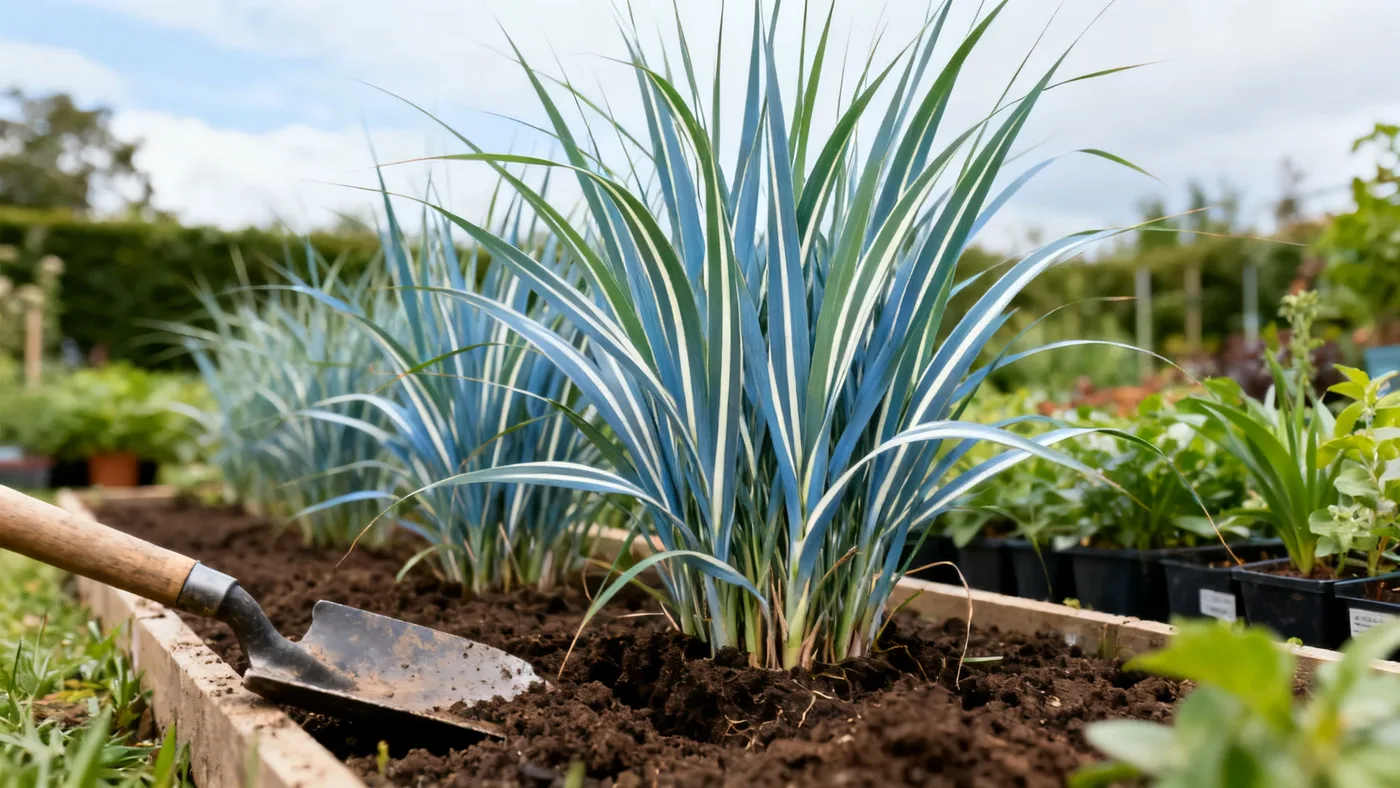
How to Plant Adagio Grass for a Strong First Season
Adagio Grass (Miscanthus sinensis 'Adagio') is a compact ornamental grass that thrives when planted with attention to timing and site conditions. Unlike some ornamental grasses that sprawl or require constant management, Adagio reaches just 3 to 4 feet at maturity, making it ideal for mixed borders, focal points, or even large containers. Success starts in the ground: get your planting timing and soil right, and your Adagio will build strong roots through its first season and reward you with reliable growth and coppery-pink plumes by late summer of year two.
What You'll Need
Gather these materials before you begin:
- A quart or #1 container Adagio Grass starter plant (or #3 if moving a mature clump)
- Well-drained garden soil or potting mix (amend clay if needed)
- Compost or aged bark mulch (2 to 3 inches to apply after planting)
- A balanced slow-release fertilizer, 10-10-10 or similar (optional for year one)
- Measuring tape to mark spacing
- Shovel or spade
- Garden hose or watering can
Site Selection: The Foundation
Adagio Grass grows best in full sun. Full sun means six or more hours of direct sun daily, and your grass will flower more reliably and maintain a denser, more upright form in full sun. It tolerates light or part shade, but flowering may be reduced and the clump can become looser in shadier spots.
Check your USDA hardiness zone: Adagio thrives in zones 5 through 9. If you live in zone 4 or colder, or zone 10 or warmer, contact your local extension service for guidance, as winter survival and dormancy timing may differ.
Soil matters, but Adagio is forgiving. The plant adapts to most well-drained soils, including clay. If your soil is heavy clay or tends to stay waterlogged, amend it with compost or aged bark to improve drainage. Adagio prefers moist but not waterlogged soil and is moderately drought tolerant once established. Soil pH should be roughly 6.0 to 7.5 (slightly acidic to neutral), though the plant is adaptable here too.
Step-by-Step Planting Instructions
Step 1: Choose Your Planting Time
Spring is the preferred planting season for planting Adagio Grass. Spring planting gives your new plant a full growing season to establish roots before winter dormancy. In warmer zones (8 and 9), you can also plant in early fall, but spring is safest and most reliable everywhere.
Avoid planting in late fall or winter, when the plant has no time to develop roots before cold weather stops growth.
Step 2: Prepare the Planting Hole
Dig a hole slightly wider and at the same depth as the root ball in your starter container. Adagio roots are relatively compact, so a hole just slightly roomier than the container is enough. Do not plant deeper than the soil line on the original pot: planting too deep can lead to rot around the base.
If you are planting multiple Adagio clumps, space them 24 to 36 inches apart. This spacing accounts for the mature width of 2.5 to 3.5 feet, giving each plant room to fill out without crowding neighbors.
Step 3: Plant and Backfill
Gently remove the starter plant from its container, loosening the root ball slightly with your fingers if roots are tightly wound. Set the plant in the hole, keeping the top of the root ball level with the ground. Backfill the hole with the excavated soil, pressing gently to eliminate air pockets without compacting heavily.
If your native soil is poor or very heavy, mix the backfill soil with compost: use a ratio of one part compost to two or three parts native soil.
Step 4: Water Thoroughly
Water deeply after planting to settle the soil and remove air pockets. Soak the area until water penetrates 6 to 8 inches deep. In the first year, Adagio Grass benefits from regular watering. Aim for consistent moisture in the root zone (roughly the top 6 inches) during the first growing season. Check the soil every few days: if it feels dry an inch below the surface, water.
Step 5: Apply Mulch
Spread 2 to 3 inches of compost or aged bark mulch around the base of the plant, keeping it several inches away from the stem to avoid rot. Mulch helps retain soil moisture and moderates soil temperature during the critical first year.
Step 6: Fertilize Lightly (Optional)
Adagio is a light feeder. If you choose to fertilize in the first spring, apply a balanced slow-release fertilizer (such as 10-10-10) according to the package rate, or topdress with a light layer of compost. Avoid over-fertilizing: too much nitrogen promotes soft, floppy growth that flops over and loses its compact form.
Tips for First-Year Success
- Water consistently in year one. Although Adagio is moderately drought tolerant once established (usually by year two), the first growing season is the time to help roots develop deep and strong. Regular moisture in the root zone pays dividends.
- Do not fertilize heavily. Light compost or a single spring application of balanced fertilizer is plenty. Overfed plants become leggy and prone to flopping.
- Do not cut back in fall. Resist the temptation to tidy your Adagio in autumn. Leave the foliage standing through winter; it provides shelter for wildlife and winter interest in the garden. Cut the entire clump back to 4 to 6 inches above ground in late winter or early spring, before new growth emerges (typically February through early April, depending on your zone).
- Expect slower growth in year one. Growth rate averages 6 to 12 inches per year in new growth until the plant reaches full clump size in 2 to 3 years. Your Adagio may look modest in its first season. Patience is rewarded with a denser, fuller clump by year two.
- Watch for plumes in year two. Most Adagio plants begin flowering well in their second or third growing season. If you do not see plumes by late summer of year two, do not worry; later-maturing plants catch up by year three.
Common Mistakes to Avoid
- Planting in too much shade. Adagio tolerates part shade but flowers best and maintains compact form in full sun. Shaded plants may flower late or minimally and can become open or floppy.
- Planting too deep. The top of the root ball should be level with ground level. Planting too deep risks rot and slow establishment.
- Overwatering after the first year. Once established (typically by year two), reduce watering frequency. Adagio is moderately drought tolerant; soggy soil invites root rot. Let the soil dry slightly between waterings in subsequent years.
- Cutting back in fall. Do not remove foliage in autumn. Cut back only in late winter or early spring to encourage fresh new growth.
- Over-fertilizing. This is a leading cause of floppiness and loss of the compact form Adagio is bred for. A light hand with fertilizer keeps plants upright and attractive.
What to Expect
By the end of your first growing season, your Adagio Grass should have developed a healthy root system and visible growth. In year two, you can expect fuller foliage and the first significant flowering, with coppery-pink to silvery-pink plumes appearing in late summer (typically August through October, depending on your region). By year three, your Adagio should approach or reach its mature size of 3 to 4 feet tall and 2.5 to 3.5 feet wide, with reliable late-summer blooms and the fine-textured blue-green foliage the cultivar is known for.
For ongoing care and maintenance as your Adagio matures, see our detailed complete growing guide.
Quick Reference: Planting Checklist
| Step | Timing or Specification | Notes |
|---|---|---|
| Choose planting time | Spring (or early fall in zones 8-9) | Avoids winter dormancy stress |
| Select site | Full sun, zones 5-9 | Tolerates light shade but flowers best in sun |
| Prepare soil | Well-drained, pH 6.0-7.5 | Amend clay with compost if needed |
| Dig hole | Slightly wider than root ball, same depth | Do not plant deeper than original soil line |
| Space plants | 24-36 inches apart | Accounts for mature width of 2.5-3.5 feet |
| Backfill and water | Water deeply to 6-8 inches deep | Settle soil and remove air pockets |
| Mulch | 2-3 inches, several inches from stem | Retains moisture and moderates soil temperature |
| First-year watering | Regular moisture in root zone | Check soil every few days; water if dry an inch deep |
| First-year fertilizing | Light only, spring application | Avoid over-fertilizing (causes floppy growth) |
| First spring prune | Late winter/early spring, year 2 | Cut to 4-6 inches above ground; do not cut in fall |
| Expected flowering | Year 2-3, late summer (August-October) | Coppery-pink to silvery plumes |
| Mature size reached | 2-3 years from planting | 3-4 feet tall, 2.5-3.5 feet wide |